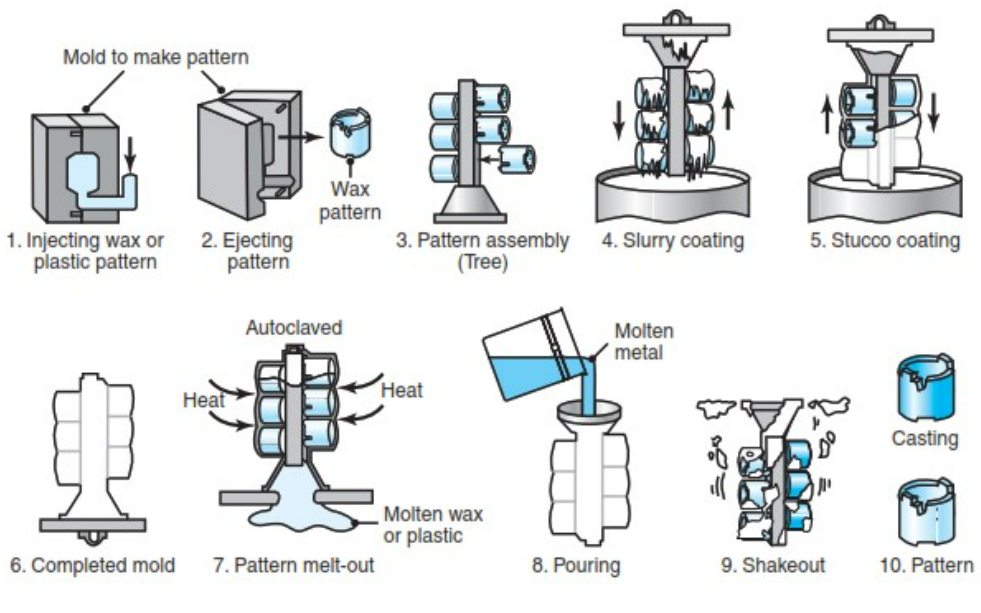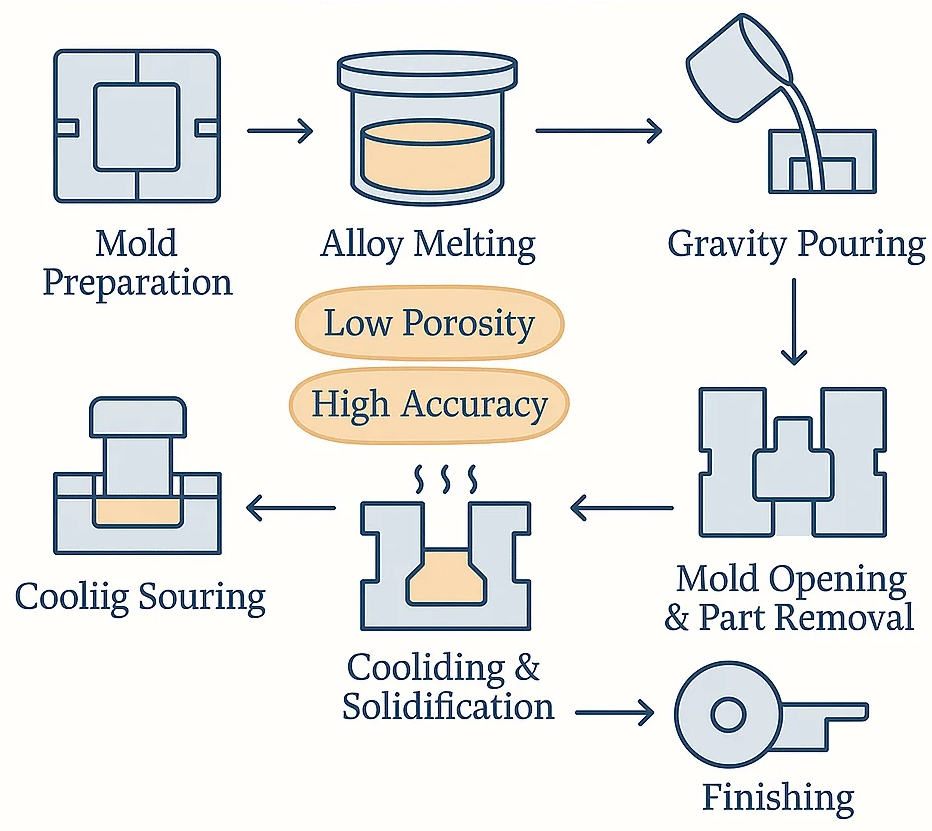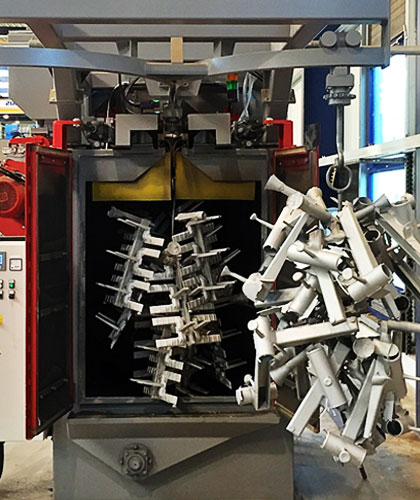
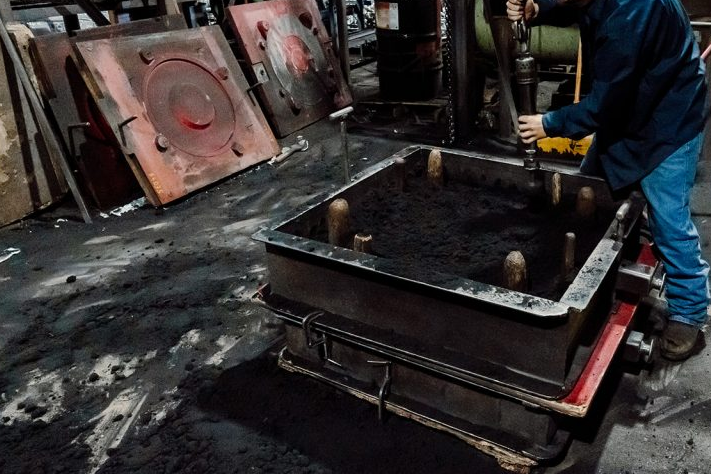
A sand mold is a mold made by packing molding sand around a pattern, so that a cavity in the shape of the part is left behind when the pattern is removed. Molten metal is poured into that cavity, solidifies, and the sand is then broken away to release the casting. Sand molds are used for most of the world’s castings because the sand is cheap, withstands high temperatures, and can be reused many times.
What Is a Sand Mold?
A sand mold is an expendable mold: it is used once and destroyed to take the casting out. The pattern that shapes it, however, is used again and again. This is the main difference from the permanent metal molds used in die casting, which we compare in sand casting vs die casting vs investment casting.
Sand works well as a mold material for four reasons:
- It is refractory, so it does not melt or fuse when it touches molten iron or steel.
- It is porous, so gases and steam can escape through the gaps between grains.
- It can be bonded and packed into almost any shape, from a few grams to many tonnes.
- It breaks down after pouring, so the casting is easy to shake out and the sand can be reclaimed.
If you are new to the process as a whole, start with our guide to metal casting basics.
Types of Molding Sand
The base sand makes up most of the mold. Four types are common.
| Base sand | Main features | Typical use |
|---|---|---|
| Silica sand | Cheapest and most widely available. Expands sharply at about 573 °C (1,063 °F), which can cause surface defects | Iron, aluminum, and copper alloy castings in general |
| Chromite sand | High heat conductivity, low thermal expansion, resists metal penetration | Facing sand for heavy steel castings |
| Zircon sand | Very low thermal expansion, very refractory, expensive | Precision molds and cores, steel castings |
| Olivine sand | Low expansion, does not react with manganese steel | Manganese steel and some non-ferrous castings |
Grain size and shape matter as much as the mineral. Fine grains give a smoother casting surface but lower permeability. Coarse grains let gas escape easily but leave a rougher surface. Rounded grains pack and flow well, while angular grains interlock and need more binder.
Types of Sand Mold by Binder
Sand grains do not hold a shape on their own. The binder decides how strong the mold is, how it is made, and what it costs.
- Green sand mold. Sand bonded with bentonite clay and water, used while still moist (“green” means unbaked, not the color). A typical mix is roughly 85–92% sand, 4–10% bentonite, and 2–5% water, often with a little coal dust for iron castings. It is the cheapest and fastest method. See our article on green sand binders for how the binder is developing.
- Dry sand mold. A clay-bonded mold that is baked, commonly at about 150–300 °C (300–570 °F), before pouring. It is stronger and gives off less steam, so it suits larger castings.
- Skin-dried mold. Only the cavity surface is dried, with a torch or hot air, to a depth of a few millimeters. It is a compromise between green and dry sand.
- Sodium silicate (CO₂) mold. Sand mixed with about 3–5% sodium silicate hardens within seconds when carbon dioxide gas is passed through it. Good for cores and medium-size molds, but harder to break down after pouring.
- No-bake (chemically bonded) mold. Sand mixed with a resin, such as furan or phenolic, and a catalyst hardens at room temperature. It gives accurate, rigid molds for medium and large castings.
- Shell mold. Resin-coated sand is dropped onto a heated metal pattern, at about 200–300 °C (390–570 °F), and forms a thin, hard shell. It gives a fine surface and tight tolerances for small to medium parts.
Properties of Good Molding Sand
Foundries test molding sand routinely, because small changes in moisture or clay content change the casting.
- Permeability. The ability to let gas and steam pass through. Too low, and gas is trapped in the metal.
- Green strength. Strength of the moist sand, so the mold keeps its shape when the pattern is drawn and the mold is handled.
- Dry and hot strength. Strength once the surface has dried and is in contact with molten metal, so the cavity wall does not erode.
- Refractoriness. Resistance to heat without melting or fusing to the casting.
- Flowability. How well the sand moves under ramming or squeezing to fill every detail of the pattern.
- Collapsibility. How easily the mold gives way as the casting shrinks, and how easily it breaks down at shakeout. Poor collapsibility can cause hot tearing.
- Reusability. How many cycles the sand survives before the clay burns out and new material must be added.
Parts of a Sand Mold
A typical sand mold is made in two halves inside a frame called a flask.
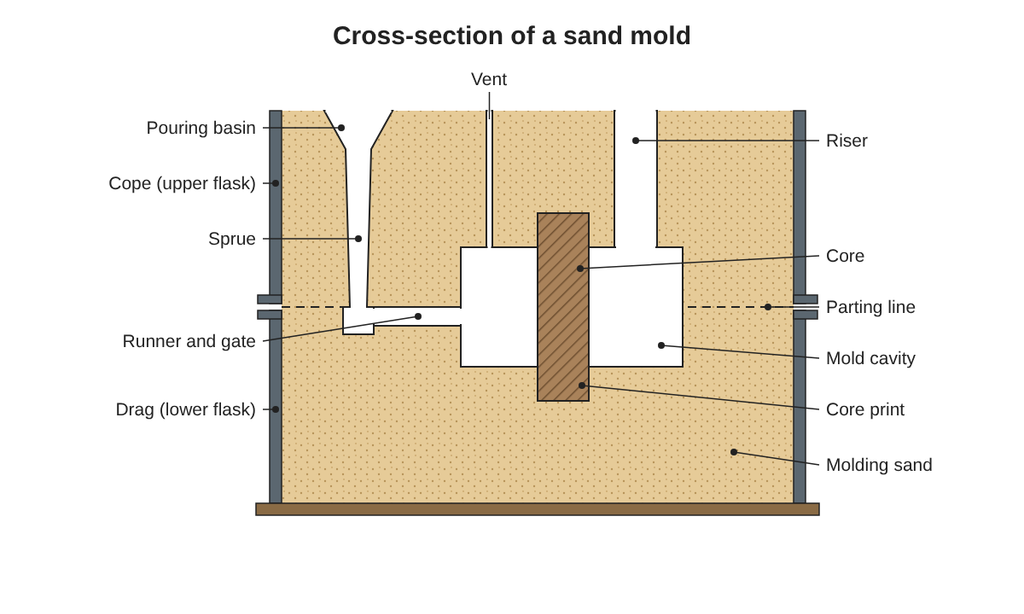
- Flask. The rigid frame that holds the sand.
- Cope. The upper half of the mold.
- Drag. The lower half of the mold.
- Parting line. The surface where cope and drag meet.
- Mold cavity. The hollow space left by the pattern, which becomes the casting.
- Pouring basin. The funnel at the top that receives the metal from the ladle.
- Sprue. The vertical channel that carries metal down from the pouring basin.
- Runner and gate. The horizontal channel that carries metal from the sprue, and the opening through which it enters the cavity.
- Riser. A reservoir of extra metal that feeds the casting as it shrinks during solidification.
- Core. A separate sand shape placed in the cavity to form a hole or internal passage.
- Core print. A recess in the mold that locates and supports the core.
- Vent. A small hole that lets air and gas out of the cavity.
The channels are designed together as one system. The details are in our article on gating and riser system design, and the sizing method in how to calculate riser size.
How a Sand Mold Is Made
The steps below describe a green sand mold made by hand. Molding machines do the same things faster and more consistently.
- Prepare the pattern. The pattern is made slightly larger than the part to allow for shrinkage and machining, with draft on the vertical faces so it can be drawn out of the sand.
- Prepare the sand. Sand, clay, water, and additives are mixed in a muller until the moisture and strength are within the target range.
- Mold the drag. The lower half of the pattern is placed on a board inside the drag flask and dusted with parting powder. Fine facing sand is sieved over the pattern, then backing sand is added and rammed in layers. The top is struck off level.
- Turn the drag over and place the upper half of the pattern on it. Dust the parting surface so the two halves will not stick.
- Mold the cope. Set the cope flask on the drag, place the sprue and riser pins, then fill and ram as before.
- Vent the mold. Pierce small vent holes from the top of the cope toward the cavity, without touching the pattern.
- Open the mold and draw the pattern. Lift the cope, remove the sprue and riser pins, loosen the pattern gently, and lift it out.
- Cut the gating and repair. Cut the runner and gates if they are not part of the pattern, repair any damaged edges, and apply a mold coating if required.
- Set the cores. Place the cores in their core prints.
- Close and secure the mold. Lower the cope onto the drag using the guide pins, then clamp or weight it so the metal pressure cannot lift the cope.
After pouring and cooling, the mold is broken at shakeout, and the casting goes to cleaning, which we cover in fettling in casting.
Common Defects Caused by the Sand Mold
| Defect | What it looks like | Usual cause in the mold |
|---|---|---|
| Sand inclusion | Sand grains embedded in the casting | Weak sand, loose sand left in the cavity, erosion at the gate |
| Blowholes | Smooth, rounded cavities | Moisture too high, permeability too low, poor venting |
| Scab and rat tail | Rough raised patch or thin line on a flat surface | Sand expansion on flat surfaces, low strength |
| Metal penetration | Rough surface with fused sand | Coarse sand, soft ramming, pouring temperature too high |
| Swell | Casting thicker than the pattern | Soft ramming, so the wall yields under metal pressure |
| Mold shift | Step at the parting line | Cope and drag misaligned, worn guide pins |
For the full list, see types of casting defects.
Advantages and Limitations
Advantages
- Low tooling cost, so it suits single pieces and small batches as well as mass production.
- Almost no limit on size or weight.
- Works with nearly all casting alloys, including iron and steel.
- The sand can be reclaimed and reused.
Limitations
- Rougher surface and looser dimensional tolerances than die casting or investment casting.
- A new mold is needed for every casting.
- More machining allowance is usually required.
- Sand handling creates dust, so ventilation and silica dust control are needed.
Frequently Asked Questions
What is a sand mold made of? Mostly a base sand, usually silica, plus a binder. In a green sand mold the binder is bentonite clay and water. Other molds use sodium silicate or resin.
Why is it called green sand? Because the mold is used moist and unbaked. The name has nothing to do with color; green sand is usually black or brown.
What is the difference between cope and drag? The cope is the upper half of the mold and the drag is the lower half. They meet at the parting line.
Can molding sand be reused? Yes. Green sand is cooled, screened, and remixed with fresh clay and water. Chemically bonded sand needs mechanical or thermal reclamation to remove the old binder.
Which metals can be cast in a sand mold? Nearly all of them: gray and ductile iron, steel, aluminum, copper alloys such as brass and bronze, and magnesium with suitable inhibitors.
Conclusion
A sand mold is simple in principle: sand, a binder, and a pattern. The quality of the casting depends on the details, which are the right base sand and binder for the alloy, sand properties kept within range, and a mold that is rammed, vented, and closed correctly. Understanding the parts of a sand mold and how it is made is the starting point for diagnosing most sand casting defects.